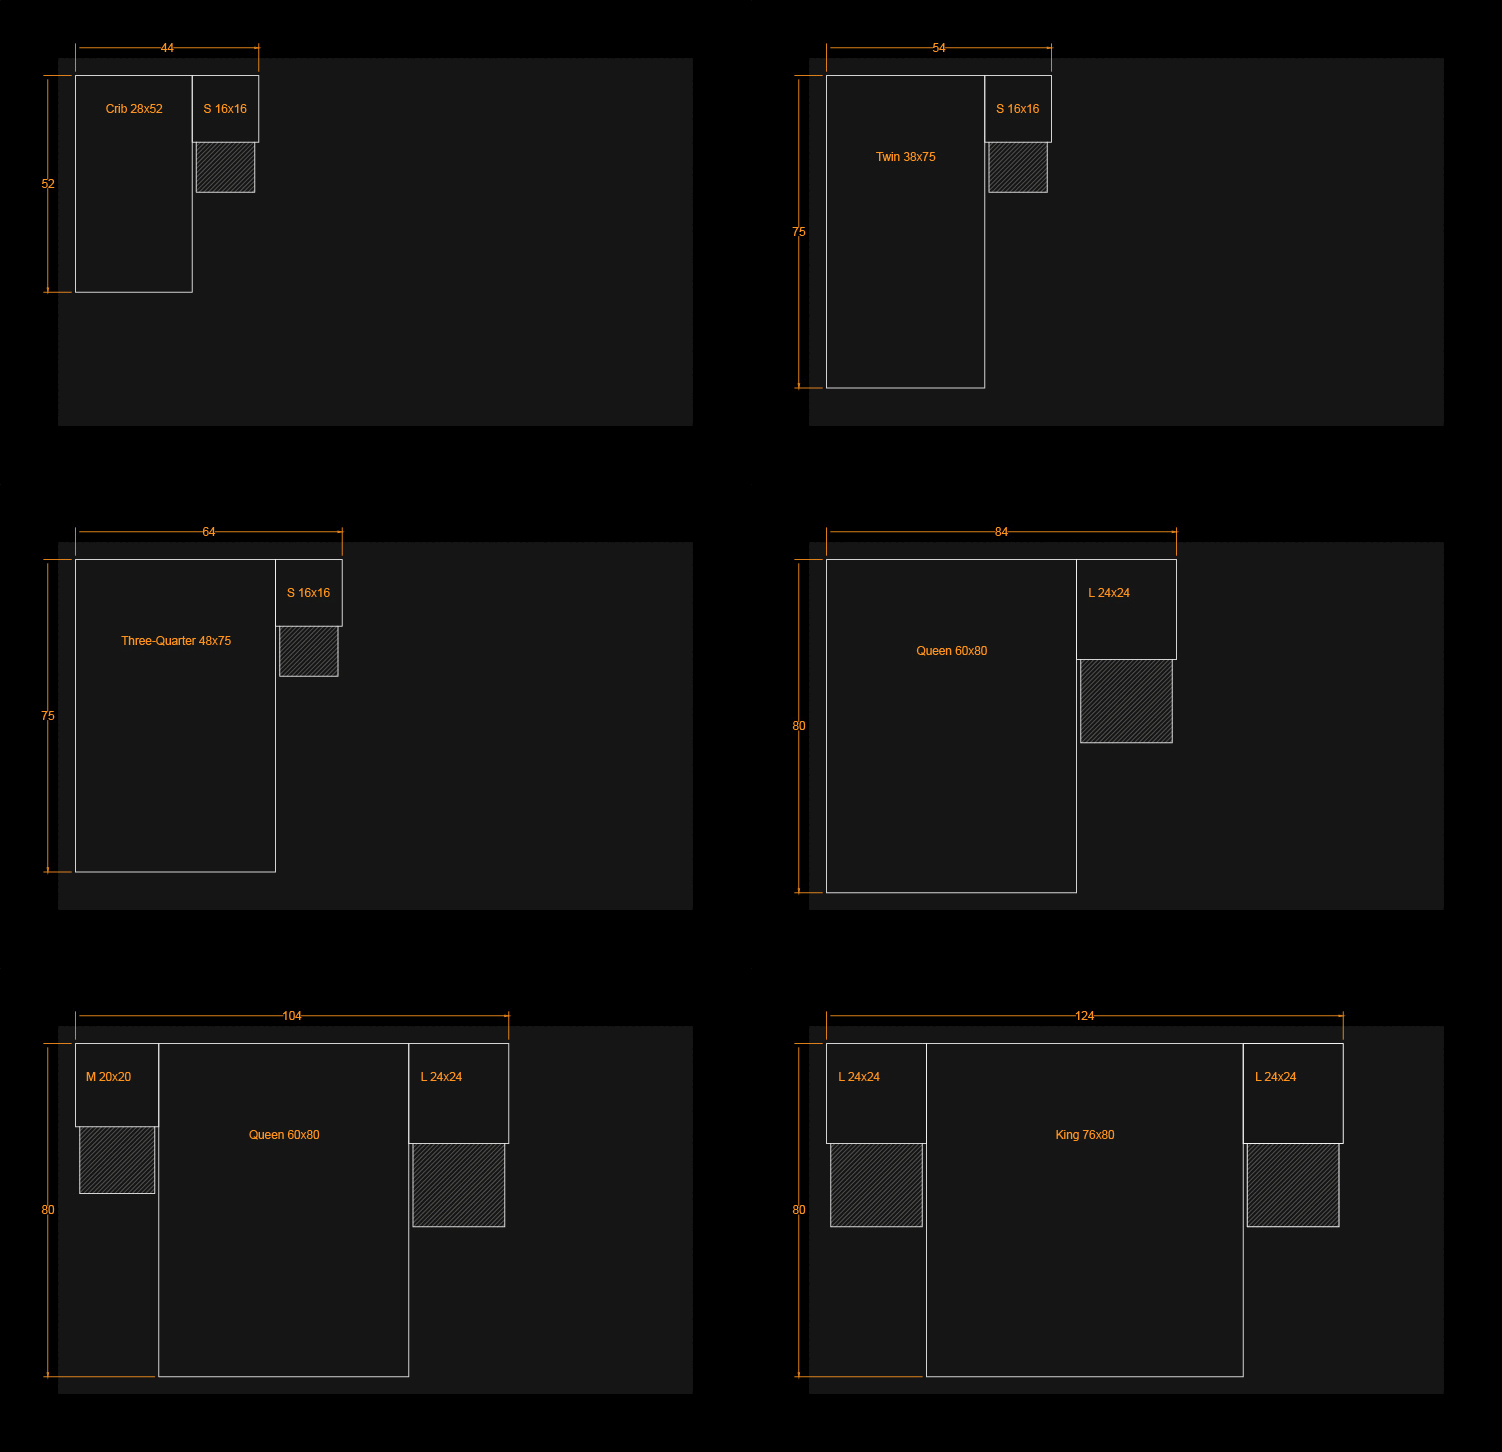
I had jury duty and cranked out 30 frames of design intent. Essentially as the back wall dimension changes, the solver will output what is the most stuff it can fit into the room. Behold: a bedroom.

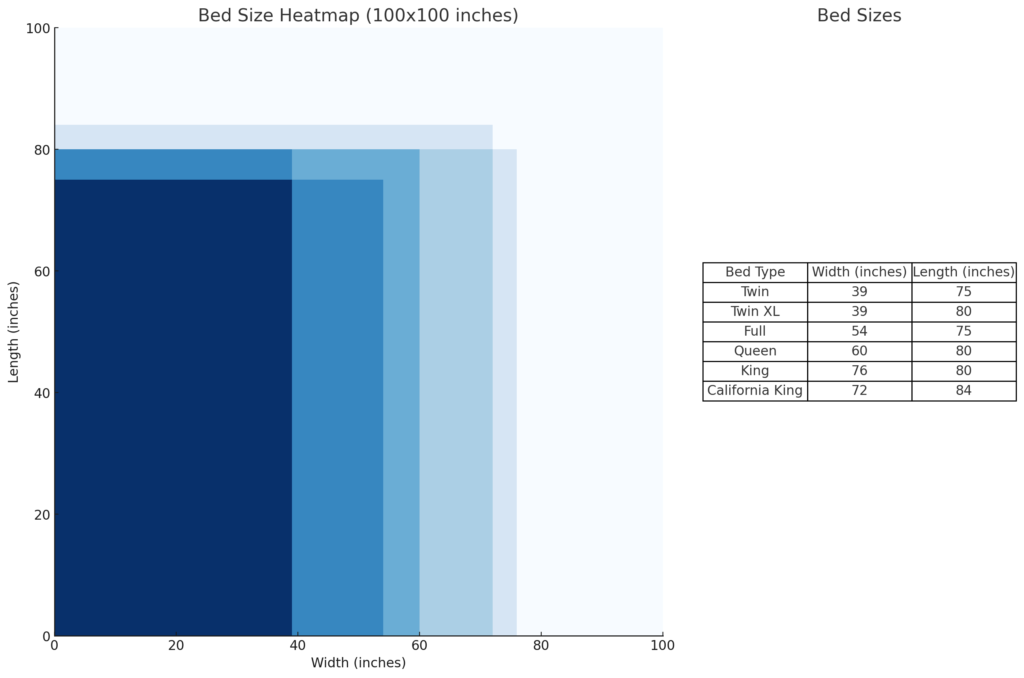
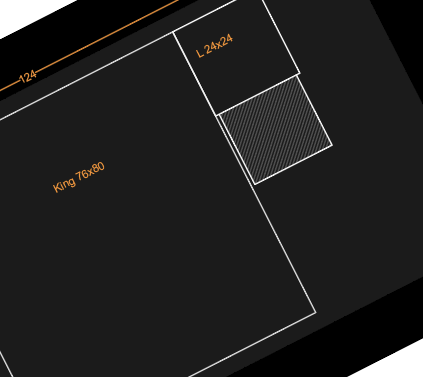
Immediately my thoughts go to the clearance area around the bed. The drawer clearance for the bedside tables is shown in the light hatch. A much less intense set of bed sizes can be used, and has a lookup table like this:

Sitting in the dallas traffic was the key to connect figma to configurator.,,,
Thinking through the basic parameters of the kitchen from posts I and II, one can easily recreate the desired effect in Figma (and create a ux for how blocks ought to be moved between one another).
How to make figma for BIM: Autolayout is your friend. Set the casework widths to be “fill” (too bad no increment setting) and leave the other “icons” alone. Lots of fun. It also supports paper space voids.
While this tool is really fun to prototype in, I don’t think it has enough of the error handling that we will want from our generic configurator.
